There have been a couple of real highlights this week that have made me a super proud mummy.
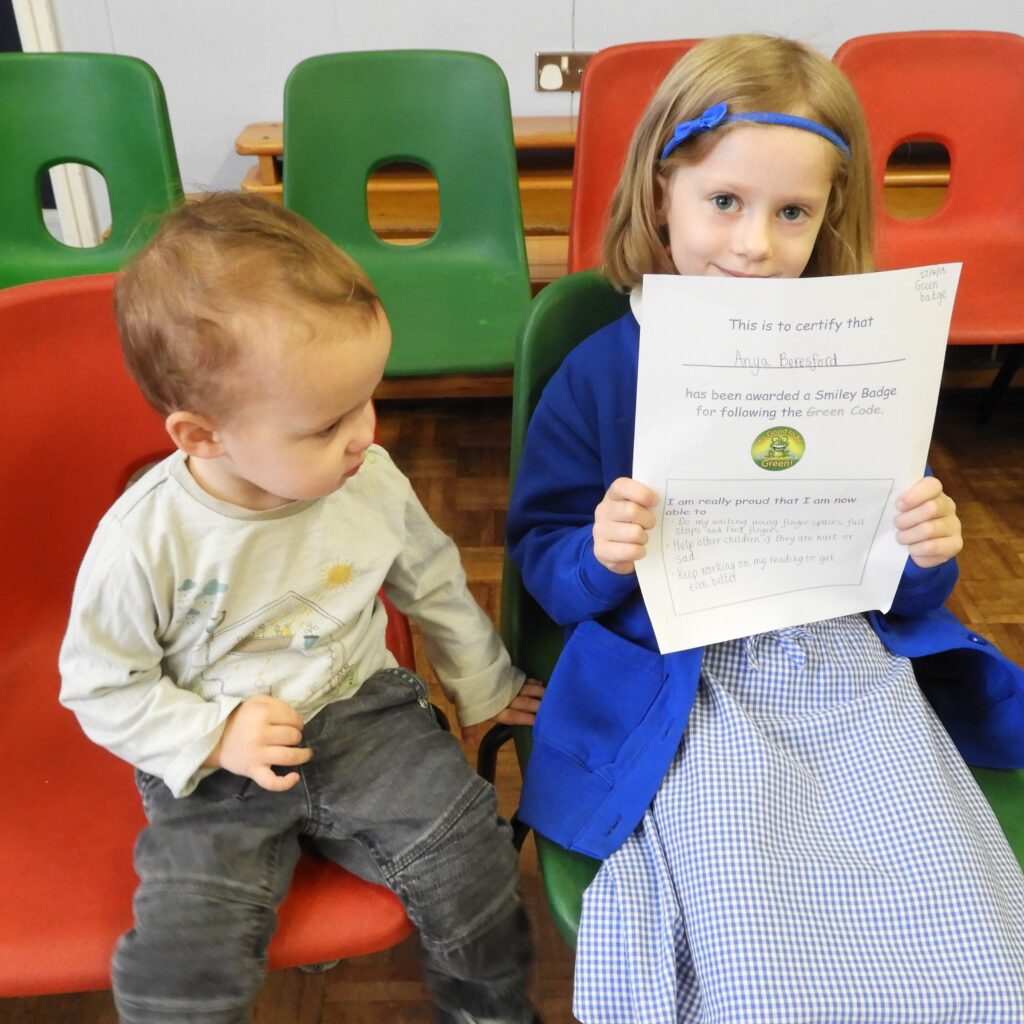
As you might have seen from this week’s #project365 Anya received a badge and certificate in school this week. Zach sat beautifully through the assembly and only sang the finger family song once!

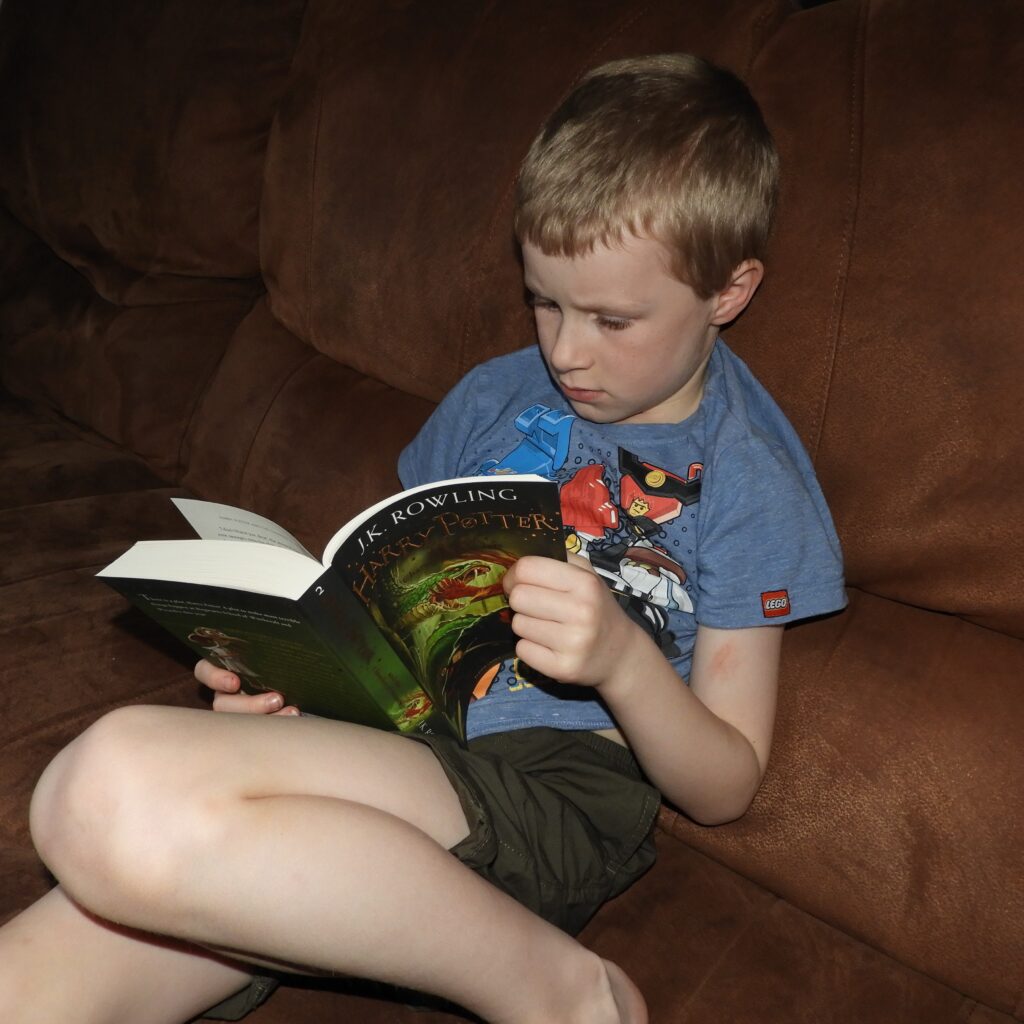
Also this week Matthew has started his Harry Potter journey and I am so excited for him!

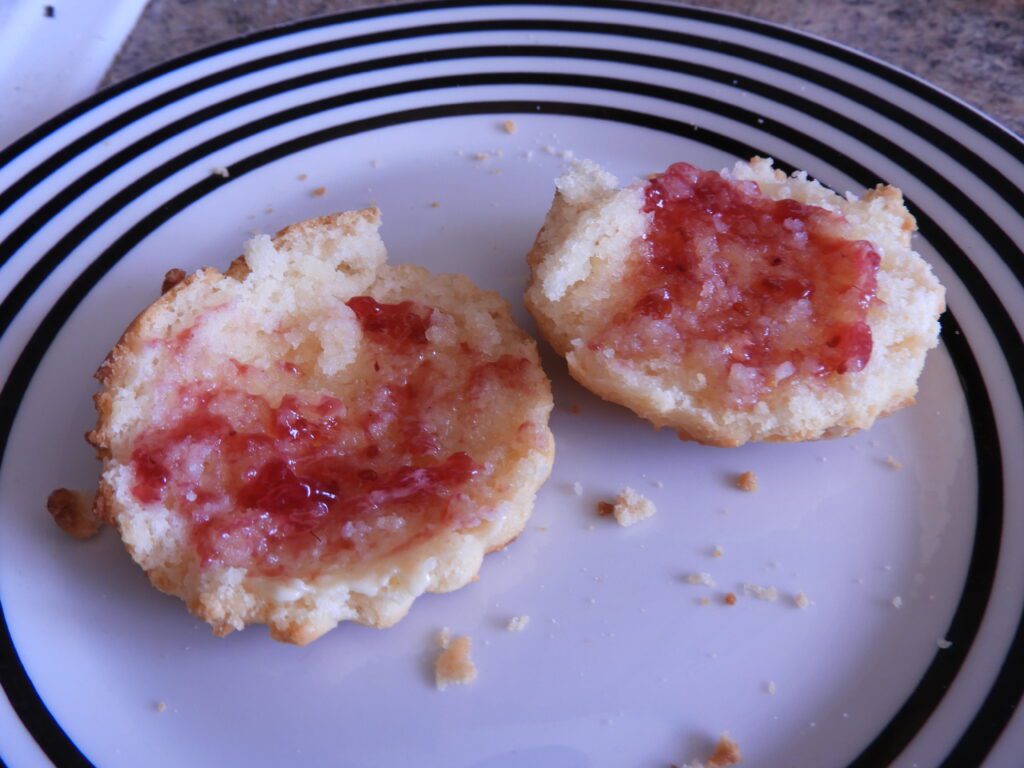
I prefer savoury scones but my kids always want these ones! Mine never seem to rise much, possibly due to the gluten free flour. Instead I make them quite thin so they cook through and then the butter and jam can go on top instead of in the middle although it is usually possible to cut them in half.
Ingredients
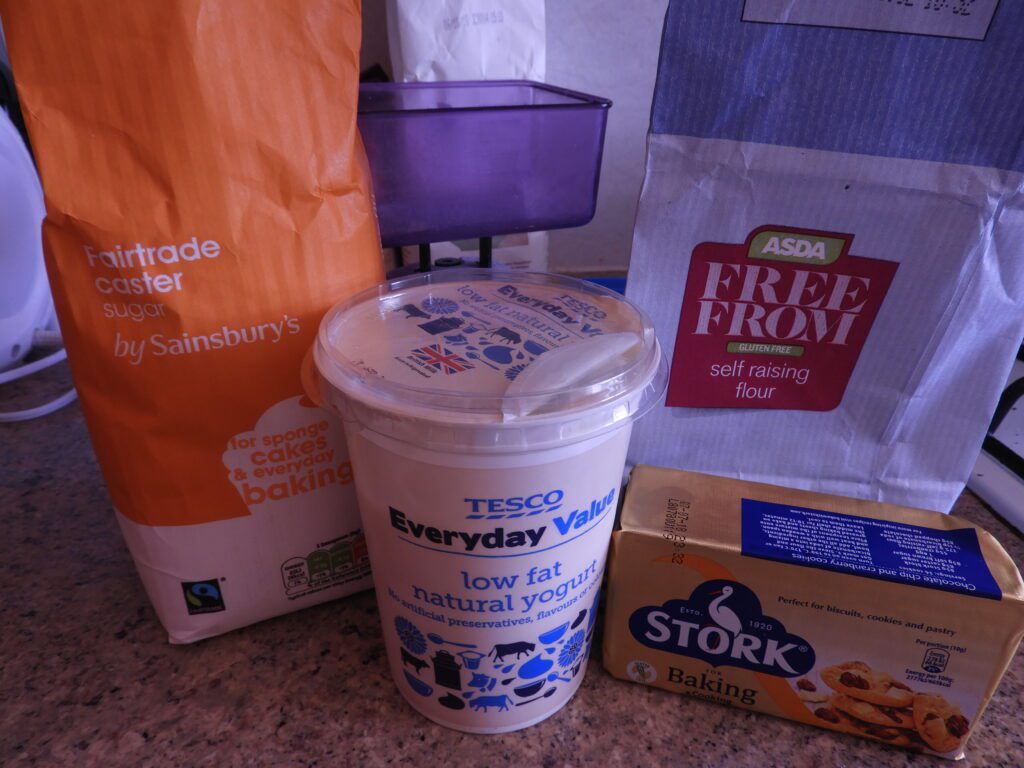
180g self raising flour
50g caster sugar
50g butter or hard margarine
100ml yoghurt (have another tablespoon or two available in case the mix needs a little more, or you can add water)
Method
Combine the flour and sugar the rub in the butter.
Add the buttermilk. The dough may require a little more liquid as gluten free flours absorb more. I added an extra tablespoon of yoghurt to mine but you could use a splash of water.
Roll out the dough to about 1.5-2 cm thick and cut out rounds.
Bake at GM6 for 15 minutes. I usually turn mine over and bake for another 2-5 minutes.
Cut in half if you can or spread jam and butter on top!
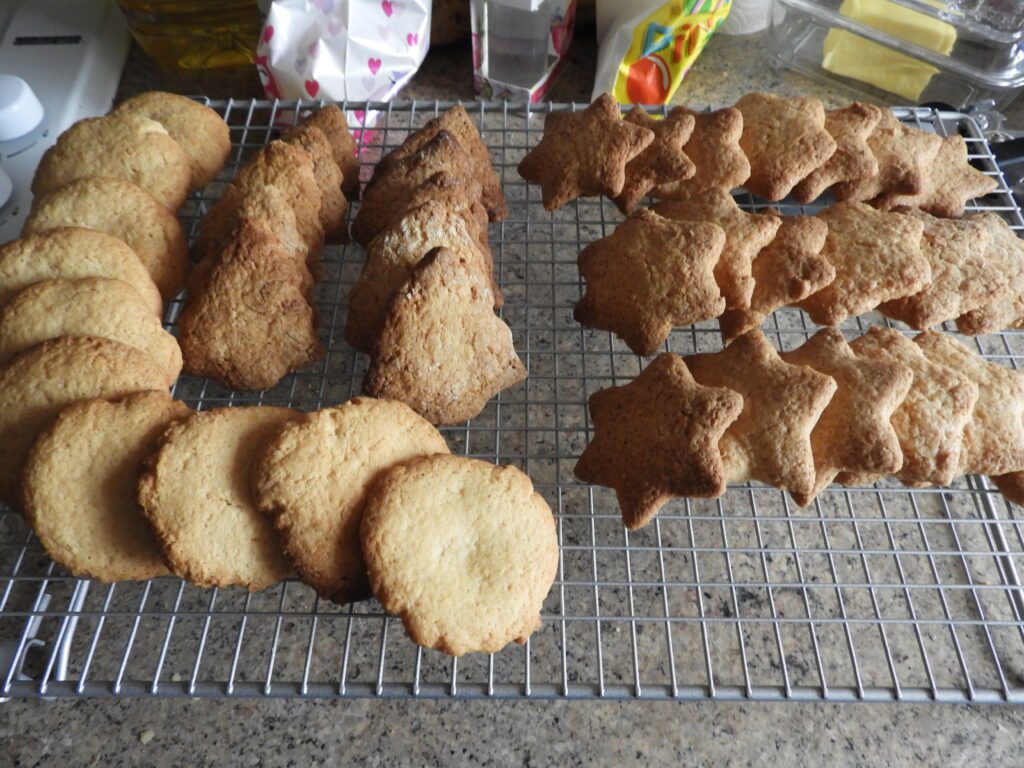
These biscuits are very versatile. Think of Christmas and decide on your own spices. Will you decorate them? What shapes will you make? You could add some dried fruit, sprinkle sugar on top or even flaked almonds.
Ingredients
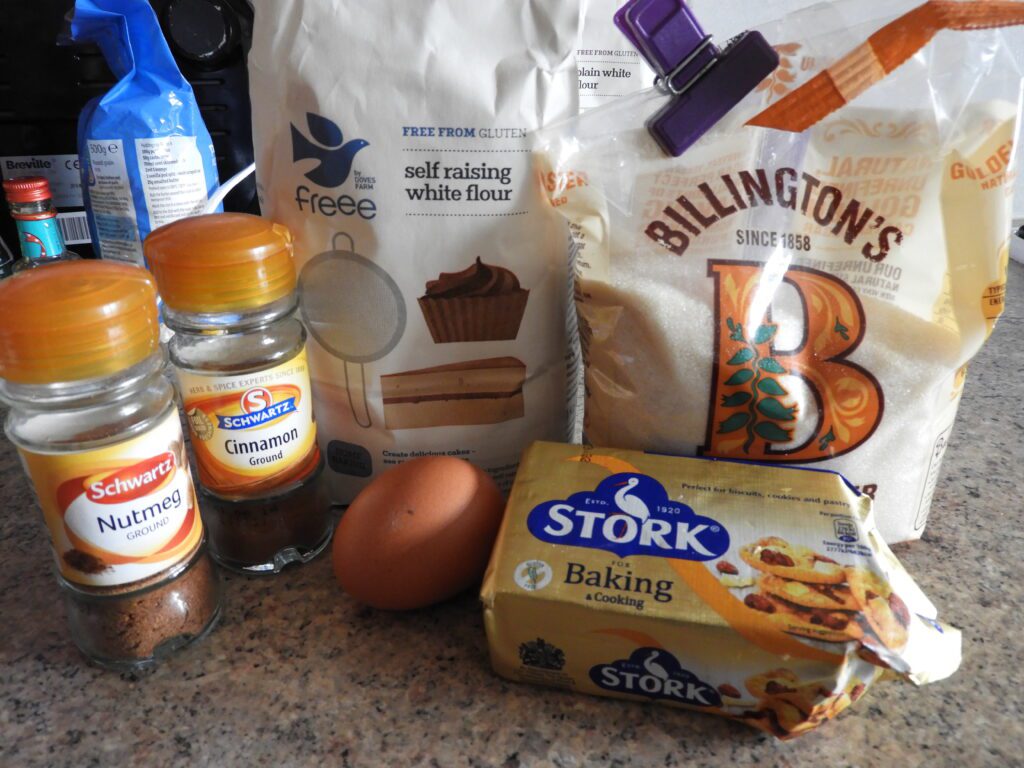
250g self raising flour (this gives the biscuits a slightly cakey texture if you make them a bit thicker)
1 teaspoon of spices (I used nutmeg and cinnamon but you could use ginger or anything that reminds you of Christmas)
125g golden caster sugar
100g butter or hard marge
1 egg
Method
Mix the flour spices and sugar in a bowl.
Rub in the butter until it resembles breadcrumbs.
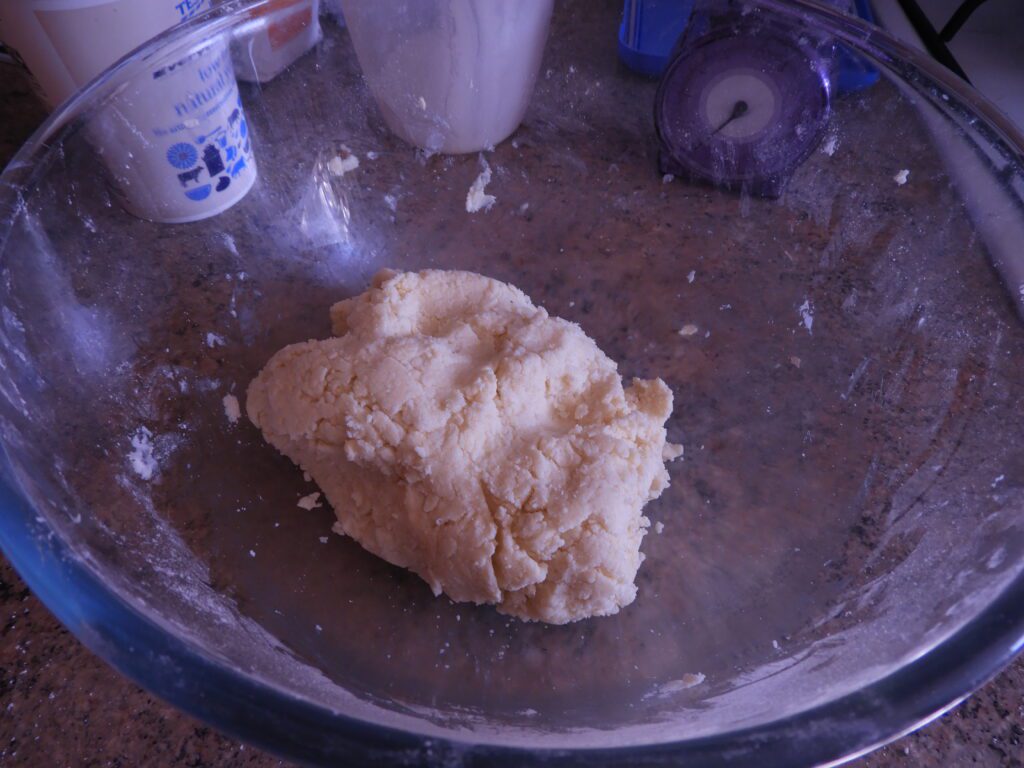
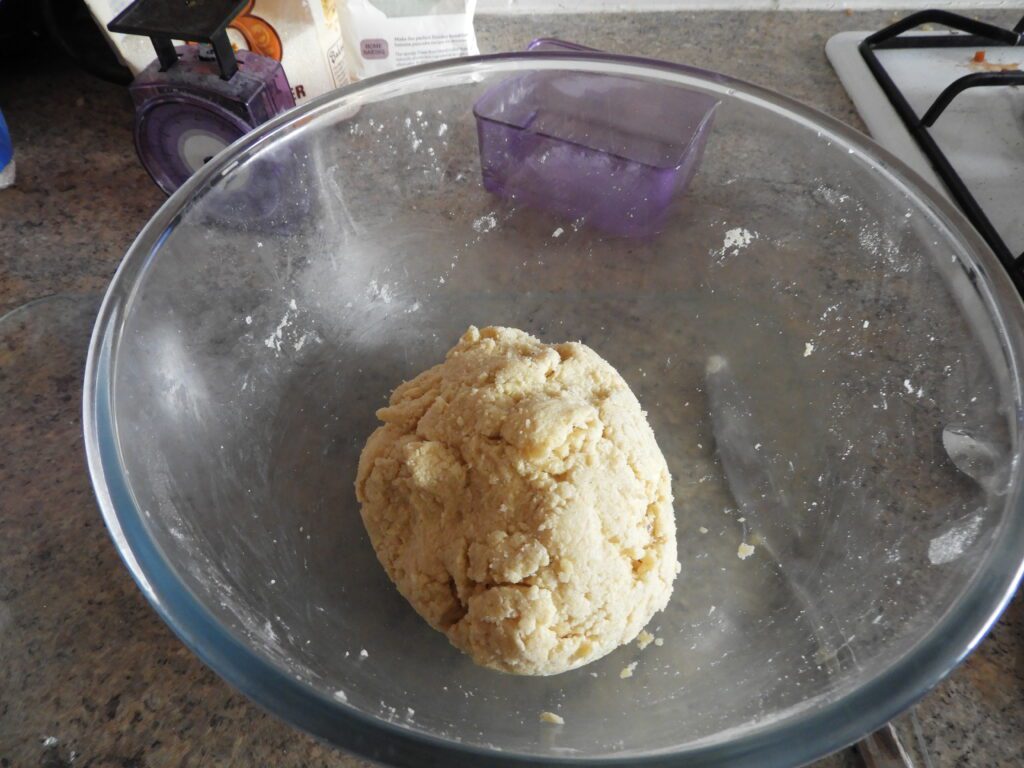
Add the egg and combine into a dough. You may need to add a couple of tablespoons of water as well because gluten free flour absorbs more liquid making it a bit dry.
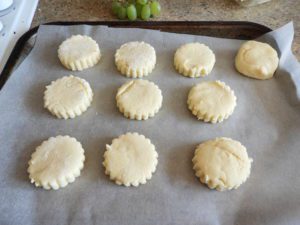
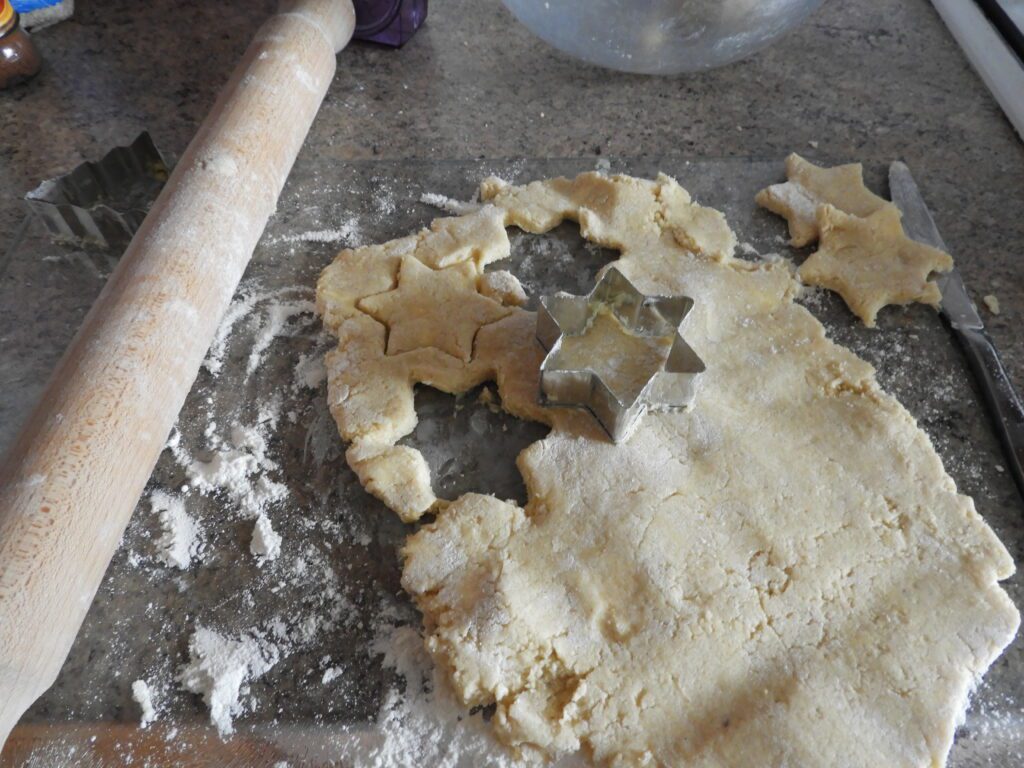
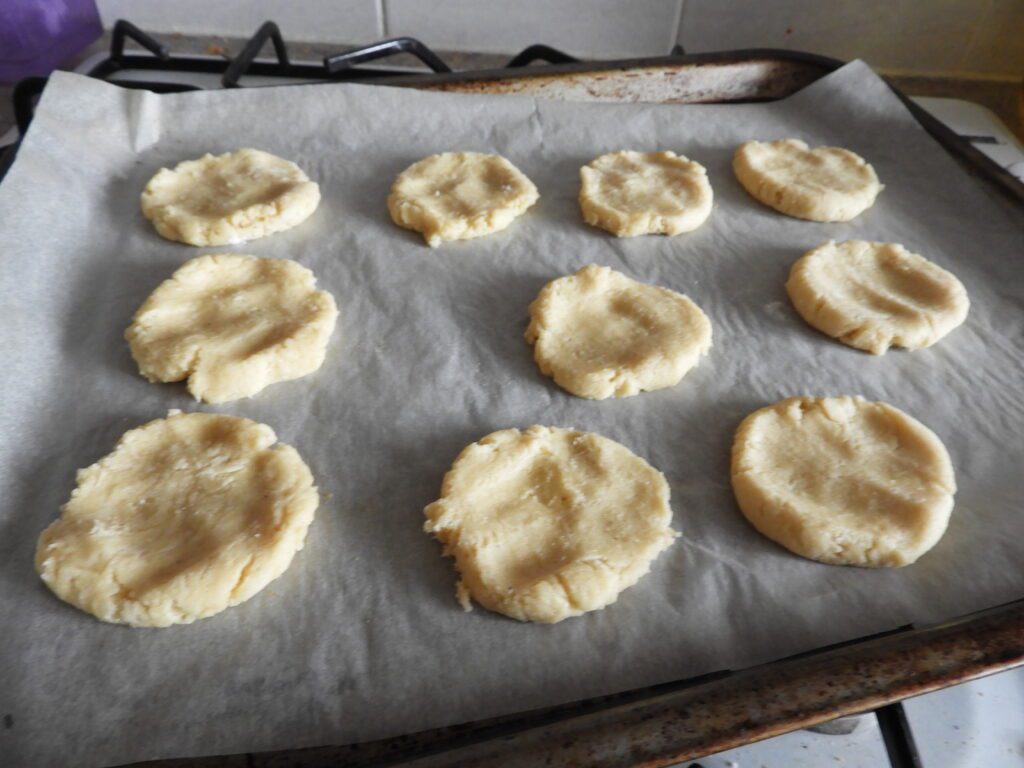
Roll out to about half a centimetre thick and cut out shapes. Alternatively roll into balls and flatten.
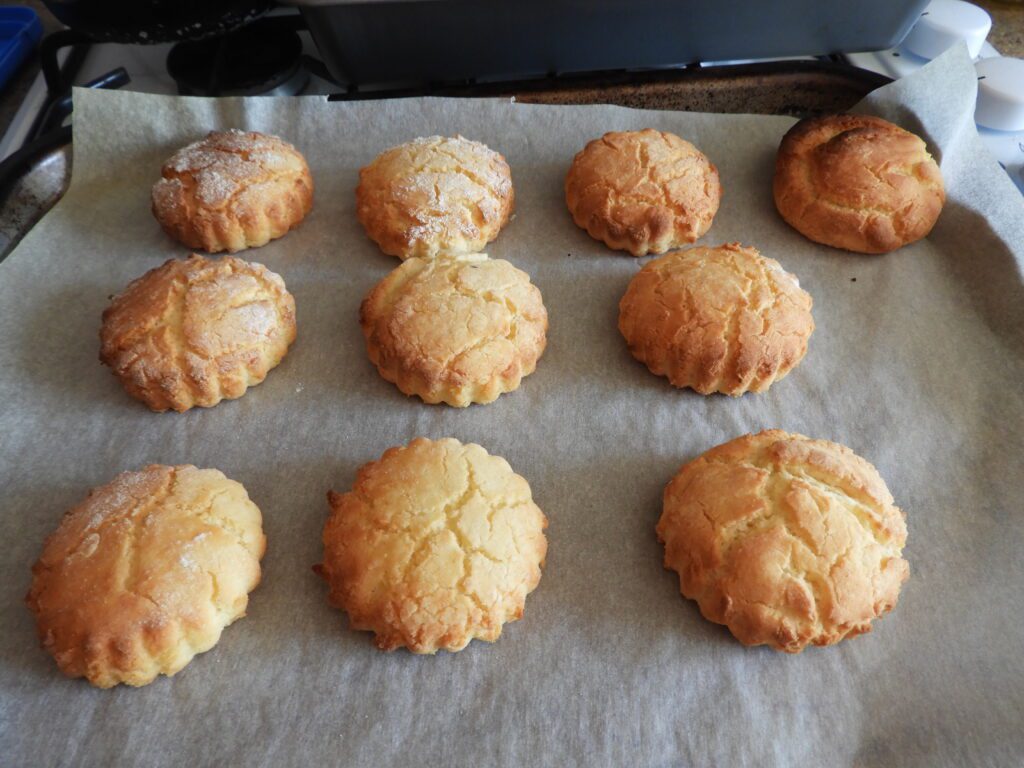
Bake for 15 minutes GM5
Leave to cool on a wire rack. If you choose to decorate then wait until they are fully cool.
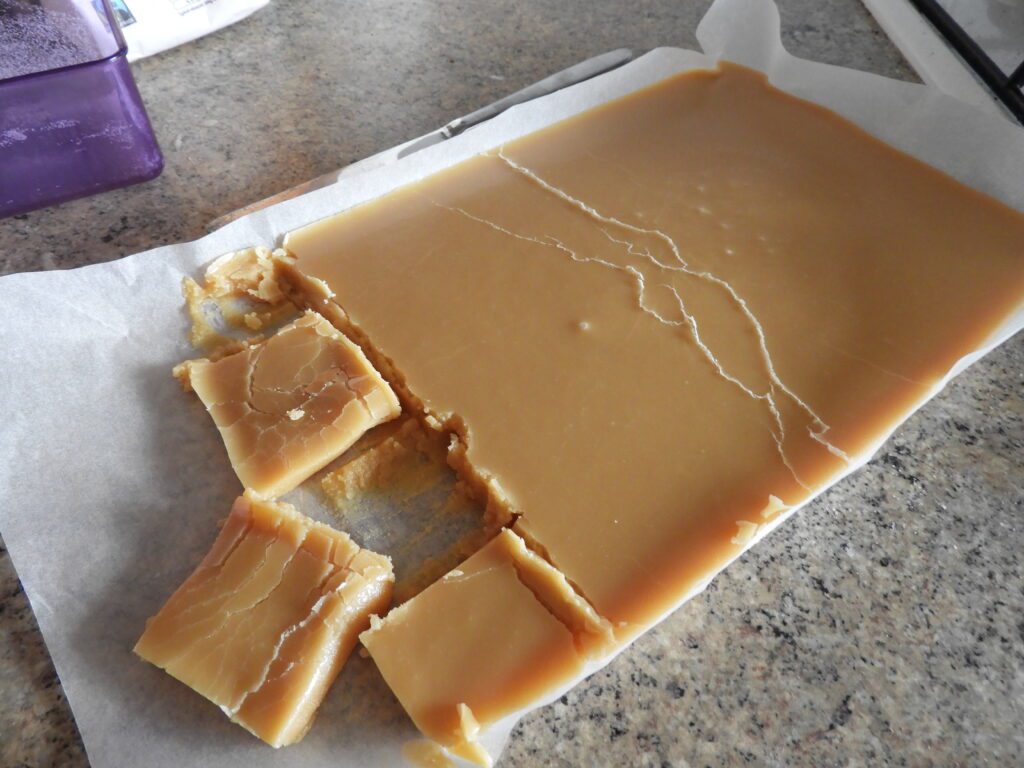
I have only made fudge once before and it was ok, not fab: just ok. I wanted a simple recipe that didn’t involve sugar thermometers or too much washing up.
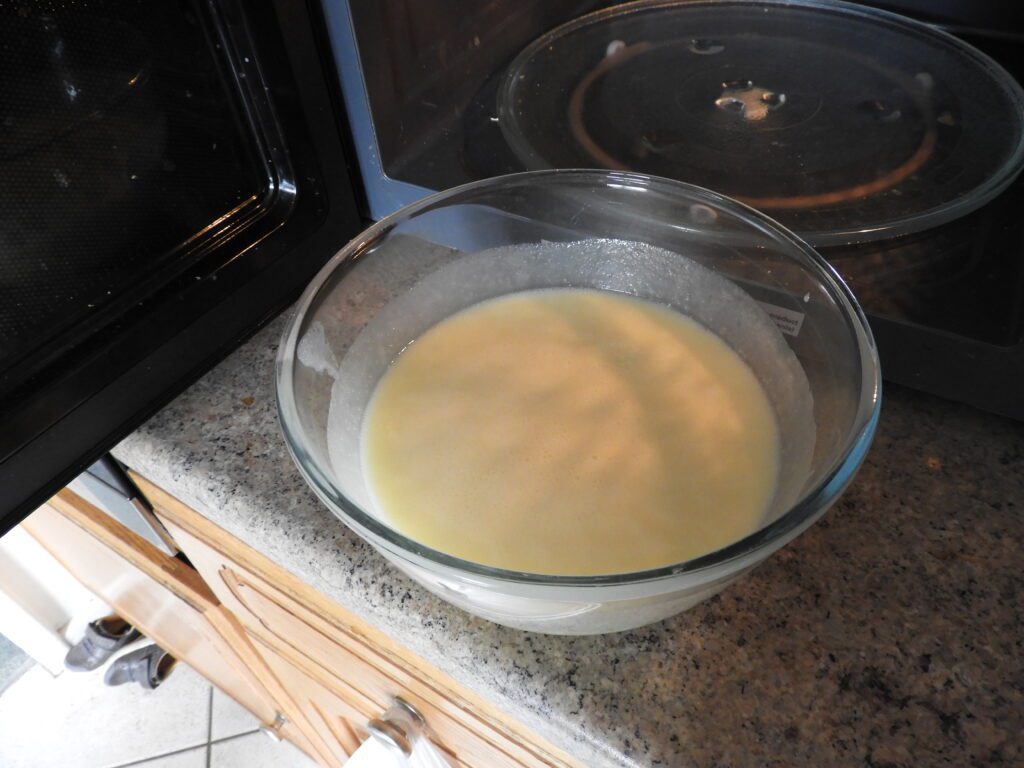
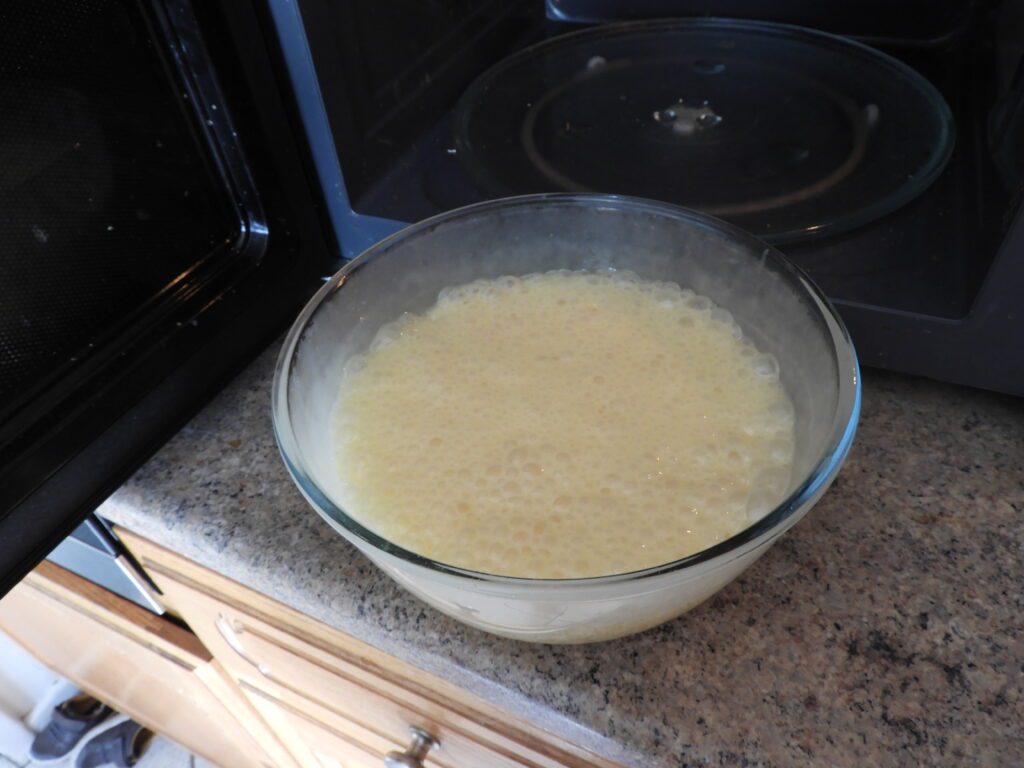
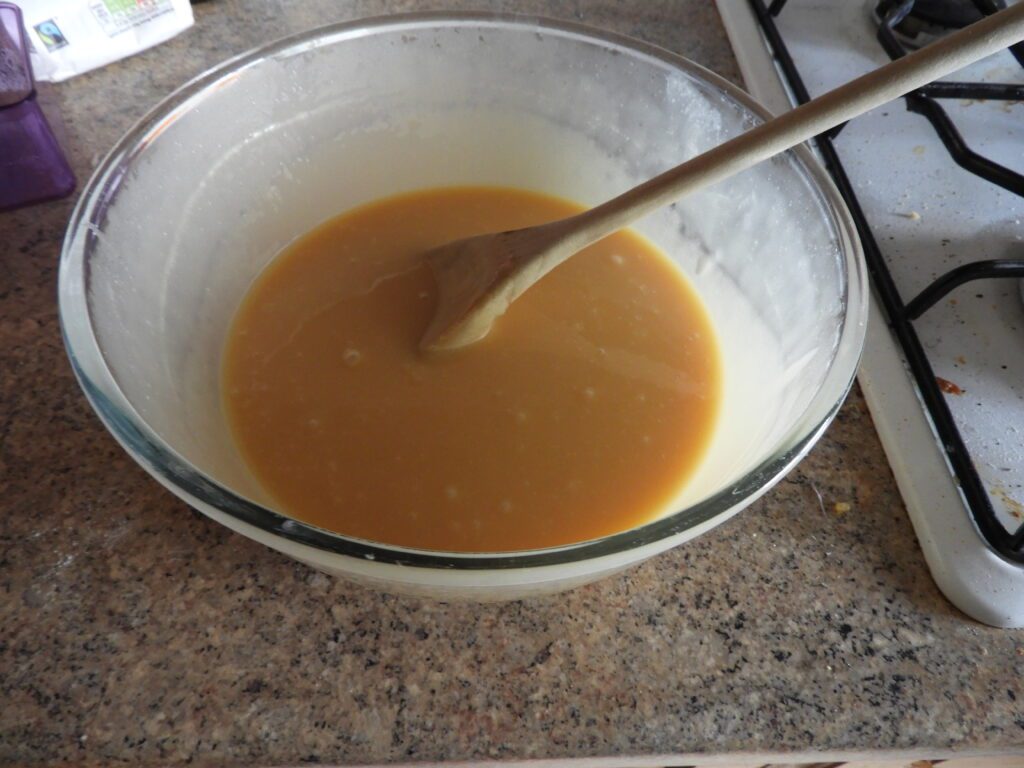
This recipe uses the microwave! At 8 minutes the mixture was still very pale and I was a bit worried but at 10 minutes once I had stirred away all the bubbles it was a beautiful fudge colour!
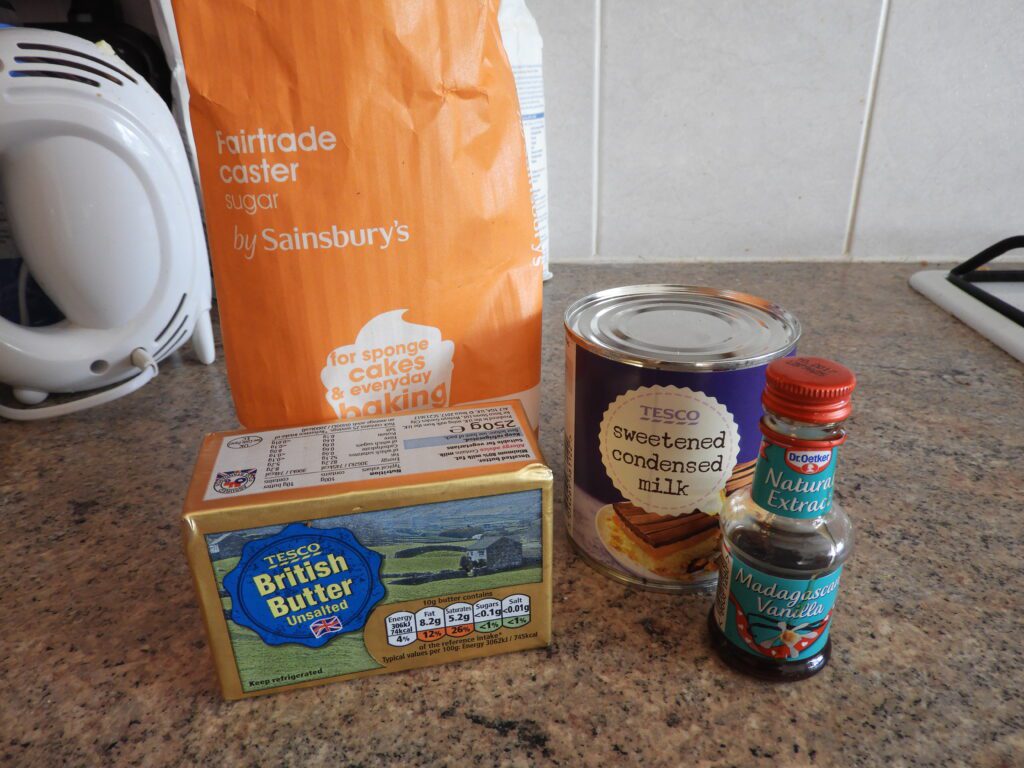
Ingredients
125g butter, melted
350g caster sugar
1 tin condensed milk (397g)
1 teaspoon vanilla extract
Method
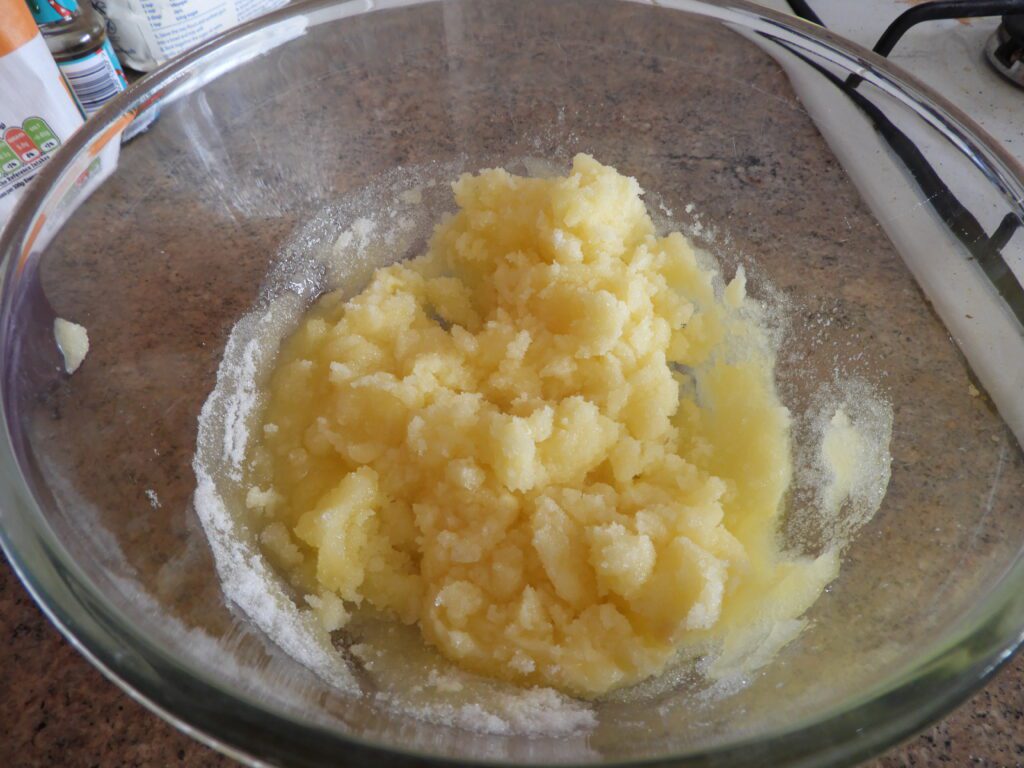
Combine butter, caster sugar and vanilla extract in a microwave safe bowl.
Add condensed milk – do not stir.
Microwave on high for about 10 minutes (stop every minute to stir – so 10 times in total) or until golden brown. Keep watch in case it boils over (open the door and it will deflate again) and be careful: it will be HOT!!!
Allow to cool slightly and beat with a wooden spoon until the fudge starts to set.
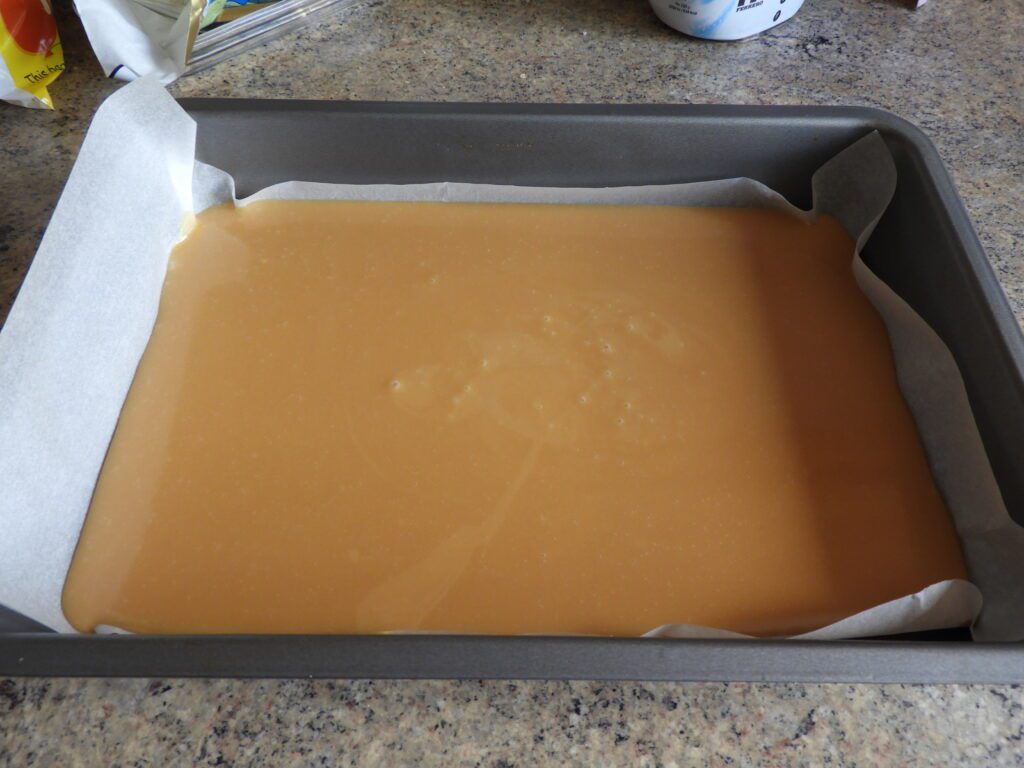
Pour into a tin lined with baking paper and allow to set before cutting into squares.
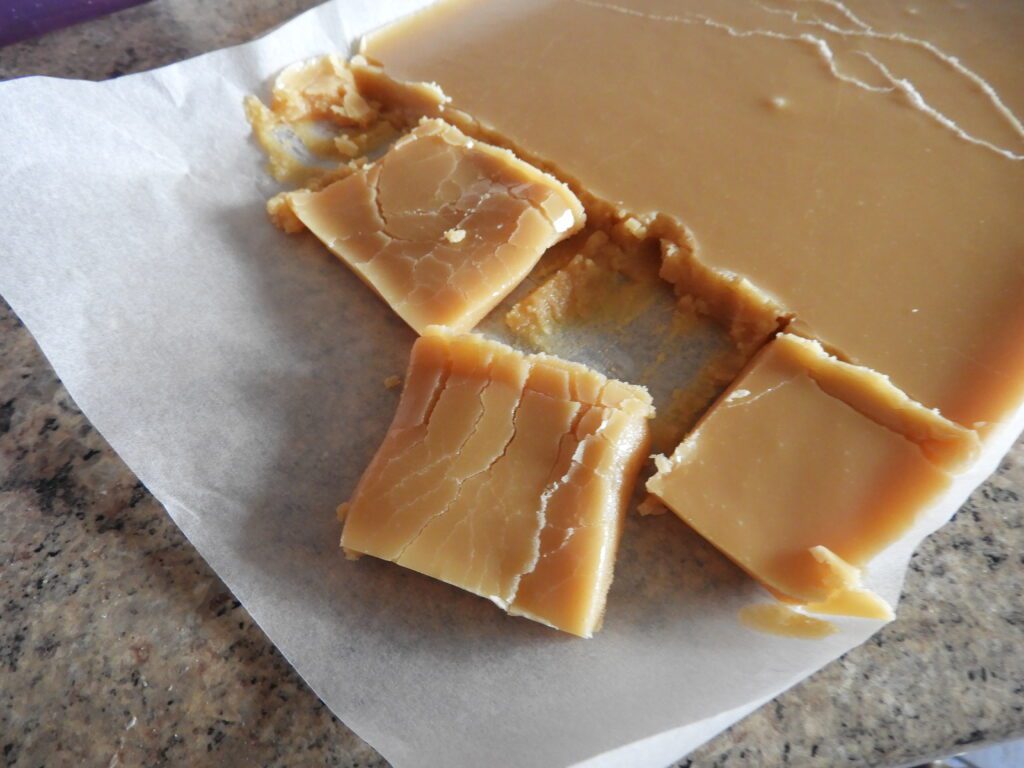
Mine was a bit gooey and didn’t come off the paper very well but then I put it in the fridge and it was easy to cut up and came off the paper with no problems. It tasted amazing!